Sample
Read the light sensor at a regular interval so changes can be observed.
I built this during my freshman year of high school because I wanted to understand what a plant needed throughout the day. It monitored light, temperature, humidity, and soil moisture, with readings shown on an LCD.
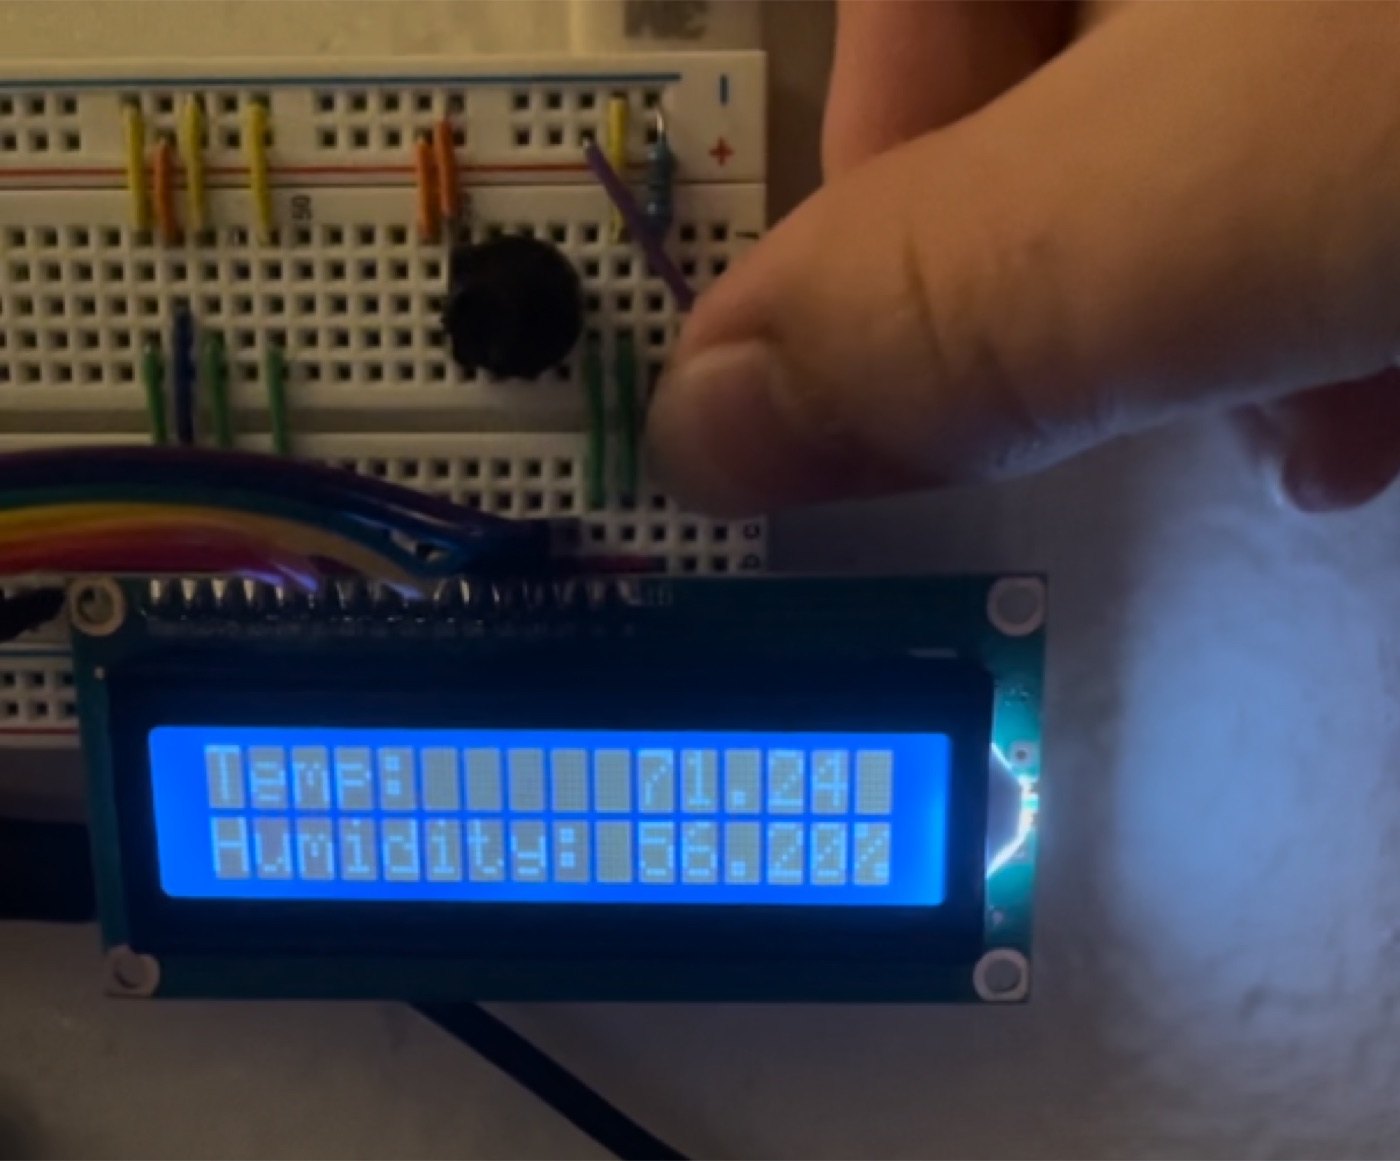
I wanted to see how much light a plant received and use soil moisture to help tell when it needed water. It was an early project where I could write a little code, change something in the real world, and watch the sensor readings respond.
Read the light sensor at a regular interval so changes can be observed.
Pair the light value with temperature and humidity measurements.
Present the readings on the LCD instead of leaving them only in a serial log.
These small sketches test the sensors separately and print a reading once per second. They are examples from the build, rather than the complete soil-moisture and LCD program. The temperature file is named SHT20TempAndHumid, but its code uses a DHT11 on pin 7.
int photoPin = A0;

void setup() {
  Serial.begin(9600);
}

void loop() {
  int light = analogRead(photoPin);
  Serial.println(light);
  delay(1000);
}#include <dht.h>
dht DHT;
#define DHT11_PIN 7
void setup(){
Serial.begin(9600);
}
void loop(){
int chk = DHT.read11(DHT11_PIN);
Serial.print("Temperature = ");
Serial.println(DHT.temperature);
Serial.print("Humidity = ");
Serial.println(DHT.humidity);
delay(1000);
}